Perfect Manicure at Home Guide & Tips
If you used to think that there was no way you could do your own nails, think again! Learning how to do your own manicure at home can save you both time and money - and honestly, it’s less difficult than you think.
Plus doing your nails at home is a fun way to express yourself with various colours and designs. No more waiting for appointments or getting unexpected extra charges for a bit of simple nail art you - can do it all yourself!
In this blog post, we'll guide you through the essential steps and products needed for an at-home manicure, as well as some tips and tricks to make it look like you just stepped out of the salon.
Table of Contents
How To Do Manicure At Home

There are some essential steps for doing a manicure at home that lasts for over seven days. Here’s a quick run-through on each step and our best tips for getting the most out of every single one! We’ll also have suggestions for important nail care products for the perfect at-home manicure.
1. Prepping Your Nails
Nail prep is an incredibly essential step - it ensures that your nails are clean of any excess oils, and gives the nail polish a chance to stick properly.
If you’re still wearing nail polish, remove it with a nail polish remover. Preferably, one that’s acetone-free.
At this step, you can use a gentle cuticle remover, pushing back cuticles with a wooden stick. We don’t suggest cutting your cuticles at all - gently pushing them back after letting them soak in the remover helps lift them enough so that you have more nail bed to paint!
Make sure to trim and shape your nails before painting, too. Always trim nails with proper nail clippers, never scissors! We also suggest using a glass nail file to shape your nails - they’re the most gentle and are perfect for ensuring your perfect shape.
Our personal pick is the Londontown Glass Nail File ($15.95). It helps to keep your nails in shape, and is eco-friendly since it reduces waste. It’ll never go blunt and need to be thrown away like emery boards.
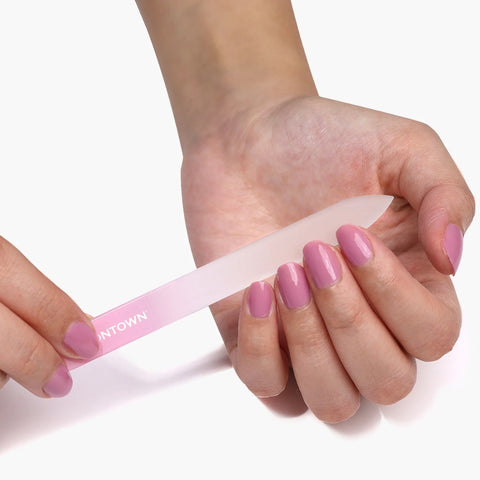 Londontown kur Glass Nail File
2. Base Coat
Now it's time to apply the nail base coat. This step is important because it helps the polish adhere to your nails, as well as protecting them from staining over time. Base coats are sometimes infused with ingredients that help to strengthen nails and reduce peeling, making them not only an essential but beneficial part of your nail care routine.
Start from the base of your nail and sweep the brush upwards towards the tip, covering the entire nail evenly. Wait a minute or two for the base coat to dry before moving on to the next step.
A favourite at Beauty Affairs is the Londontown Nail Hardener & Base Coat ($24.95). This base coat formula helps to strengthen nails while priming your nails for a manicure.
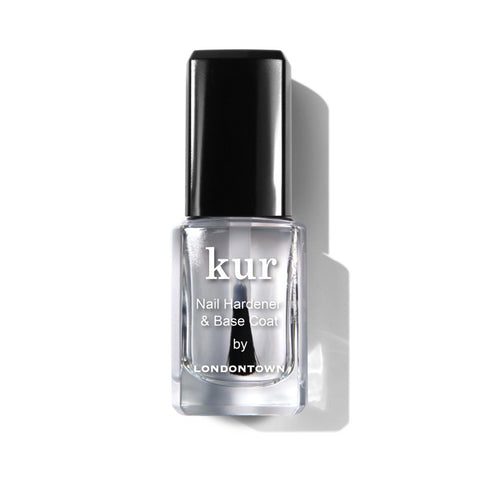 Londontown kur Nail Hardener & Base Coat
3. Nail Polish
Choose your favourite nail polish colour and apply it in thin, even coats.
It's better to do multiple thin coats instead of one thick one, as thick coats are more likely to chip and not dry properly.
Start from the base of your nail and sweep the brush upwards towards the tip, making sure to avoid getting too close to the cuticle or skin. If you do happen to flood the cuticle, use a small brush dipped in nail polish remover will help create clean lines again!
Allow each coat to dry for at least two minutes before applying the next. You can add multiple coats until you reach your desired opacity.
Another top tip for painting your nails is to sit at a table or other even surface. This makes it easier to keep a steady hand for tidy, expertly-painted nails.
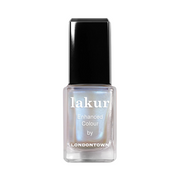
Some of our favourite sheer nail polishes for the perfect classy mani are from the Londontown Nail Concealer ($24.95) range. They look flawless and glossy in two easy coats, with a gel-like finish.
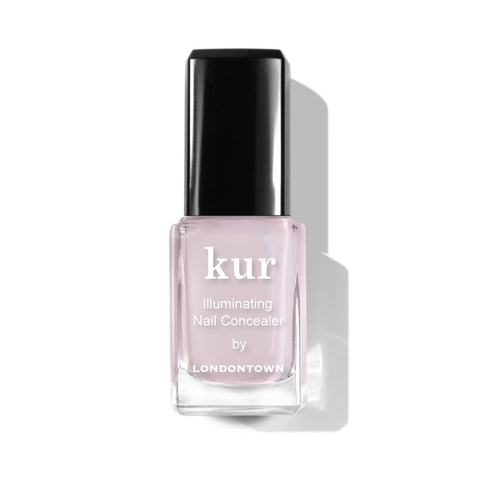
Londontown kur Illuminating Nail Concealer is an award-winning nail polish that subtly perfects nails for a classy, sophisticated mani. The cult-favourite, one-application-and-done staple for your most effortless manicure yet.
4. Top Coat
To seal everything in and dry your nails quickly, apply a nail top coat. A top coat helps to make it last longer and add shine to your nails. The top coat will also protect your nails from chipping and flaking.
Apply the topcoat in the same way as the base coat, covering the entire nail evenly. Allow it to dry for a few minutes before touching anything to avoid smudging.
We love the Londontown Flash Dry Top Coat ($26.95) for drying nails in record time and ensuring that your nails look super glossy!
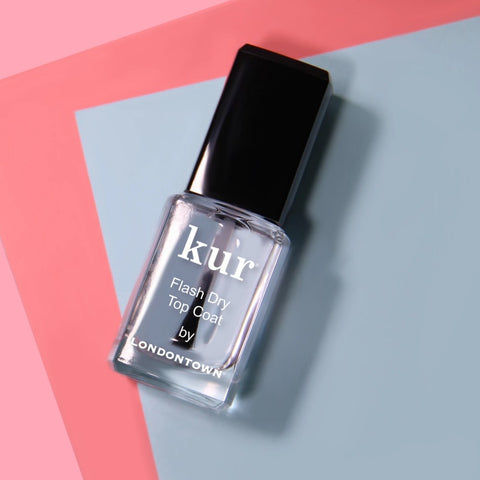
If you’re impatient waiting for your nail polish to dry, a quick-drying top coat like the Londontown kur Flash Dry Top Coat will be your new best friend! It’s the secret to a speedy, smudge-free manicure—plus incredible shine.
5. Hand Cream & Cuticle Oil
The final step is to hydrate and moisturise your hands. Use a hand cream to lock in the moisture and give your hands a healthy glow. Voila! You now have perfectly polished nails. A quality hand cream and cuticle oil combo helps to prevent hangnails and ensure that your nails stay strong.
Our top pick for a nail-nurturing cream, post-mani is the Londontown Restorative Nail Cream ($29.95). This cream supports healthy nails thanks to a formula rich in natural oils.

Bring life back to damaged, brittle nails with Londontown kur Restorative Nail Cream. Massaged into cuticles and nails two to three times per week, the right formula helps to strengthen nails from within, reducing brittleness and preventing breakage.
How to do a Quick Manicure at Home
What about all-in-one products that work as a full manicure kit at home?
These products can definitely help create a nice look at home, and you can use them with or without base and top coats. One of our favourites is the London Perfecting Nail Veil ($24.95). These sheer polishes are fortified with nail-nurturing ingredients to lend sheer coverage while improving the look of your nails - even without nail polish.
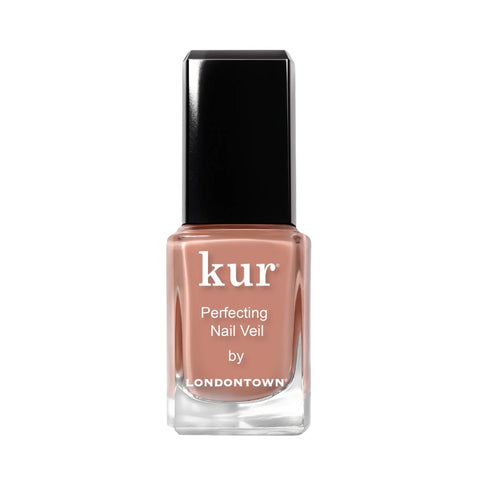
Restore nails back to health with Londontown kur Perfecting Nail Veil. These nail treatments apply and wear like nail polish, yet fortify nails with ingredients like Biotin and Evening Primrose oil to support healthy nail growth.
What About Gel Nail Polish?
Now, of course these steps only apply to regular nail polish. Gel nail polish requires specialised products and steps, including nail dehydrator and using a gel lamp after every step. Gel or UV light cures the polish to your nails, which is why it lasts for so long compared to regular polish.
If you’re a fan of gels, make sure to check out our blog post on removing gel polish. It can damage your nails if done incorrectly, so make sure to follow our expert-approved tips!
Final Points
Doing your own manicure at home is both rewarding and cost-effective. Follow these essential steps and tips, and you'll be able to achieve a salon-worthy look without leaving your home.
Whether you're a beginner or an experienced manicurist, doing your own manicure can be a fun way to express yourself and experiment with different colours and designs. Remember to always use an acetone-free nail polish remover and stick to non-toxic products for a safe and healthy at-home manicure.